
How to Add a Map Block to Your Squarespace Website
If your business has a brick-and-mortar location, adding a map to your website is a must. It makes it easier for your customers to find you and adds a professional touch to your site. Thankfully, Squarespace makes it super simple to integrate a map directly into your pages using their native map block. In this tutorial, I’ll show you how to add and customize a map block step-by-step.
Watch the video
Check out the YouTube video below. 👇🏼
Why Add a Map Block?
A map block on your Squarespace site helps your visitors quickly locate your business. It’s especially useful for:
Restaurants: Show customers exactly where they can dine.
Retail Stores: Let shoppers know where to find you.
Event Venues: Make attending events more convenient.
Adding a map enhances your website’s functionality and helps visitors connect with your brand in the real world.
Step-by-Step Guide to Adding a Map Block
Step 1: Enter Edit Mode
Navigate to the page where you’d like to add the map block.
Click Edit to enter editing mode.
Step 2: Add a Map Block
Locate the section where you’d like to place the map. Click the Add Block button and select Map Block from the list.
Drag the block to your desired spot within the section.
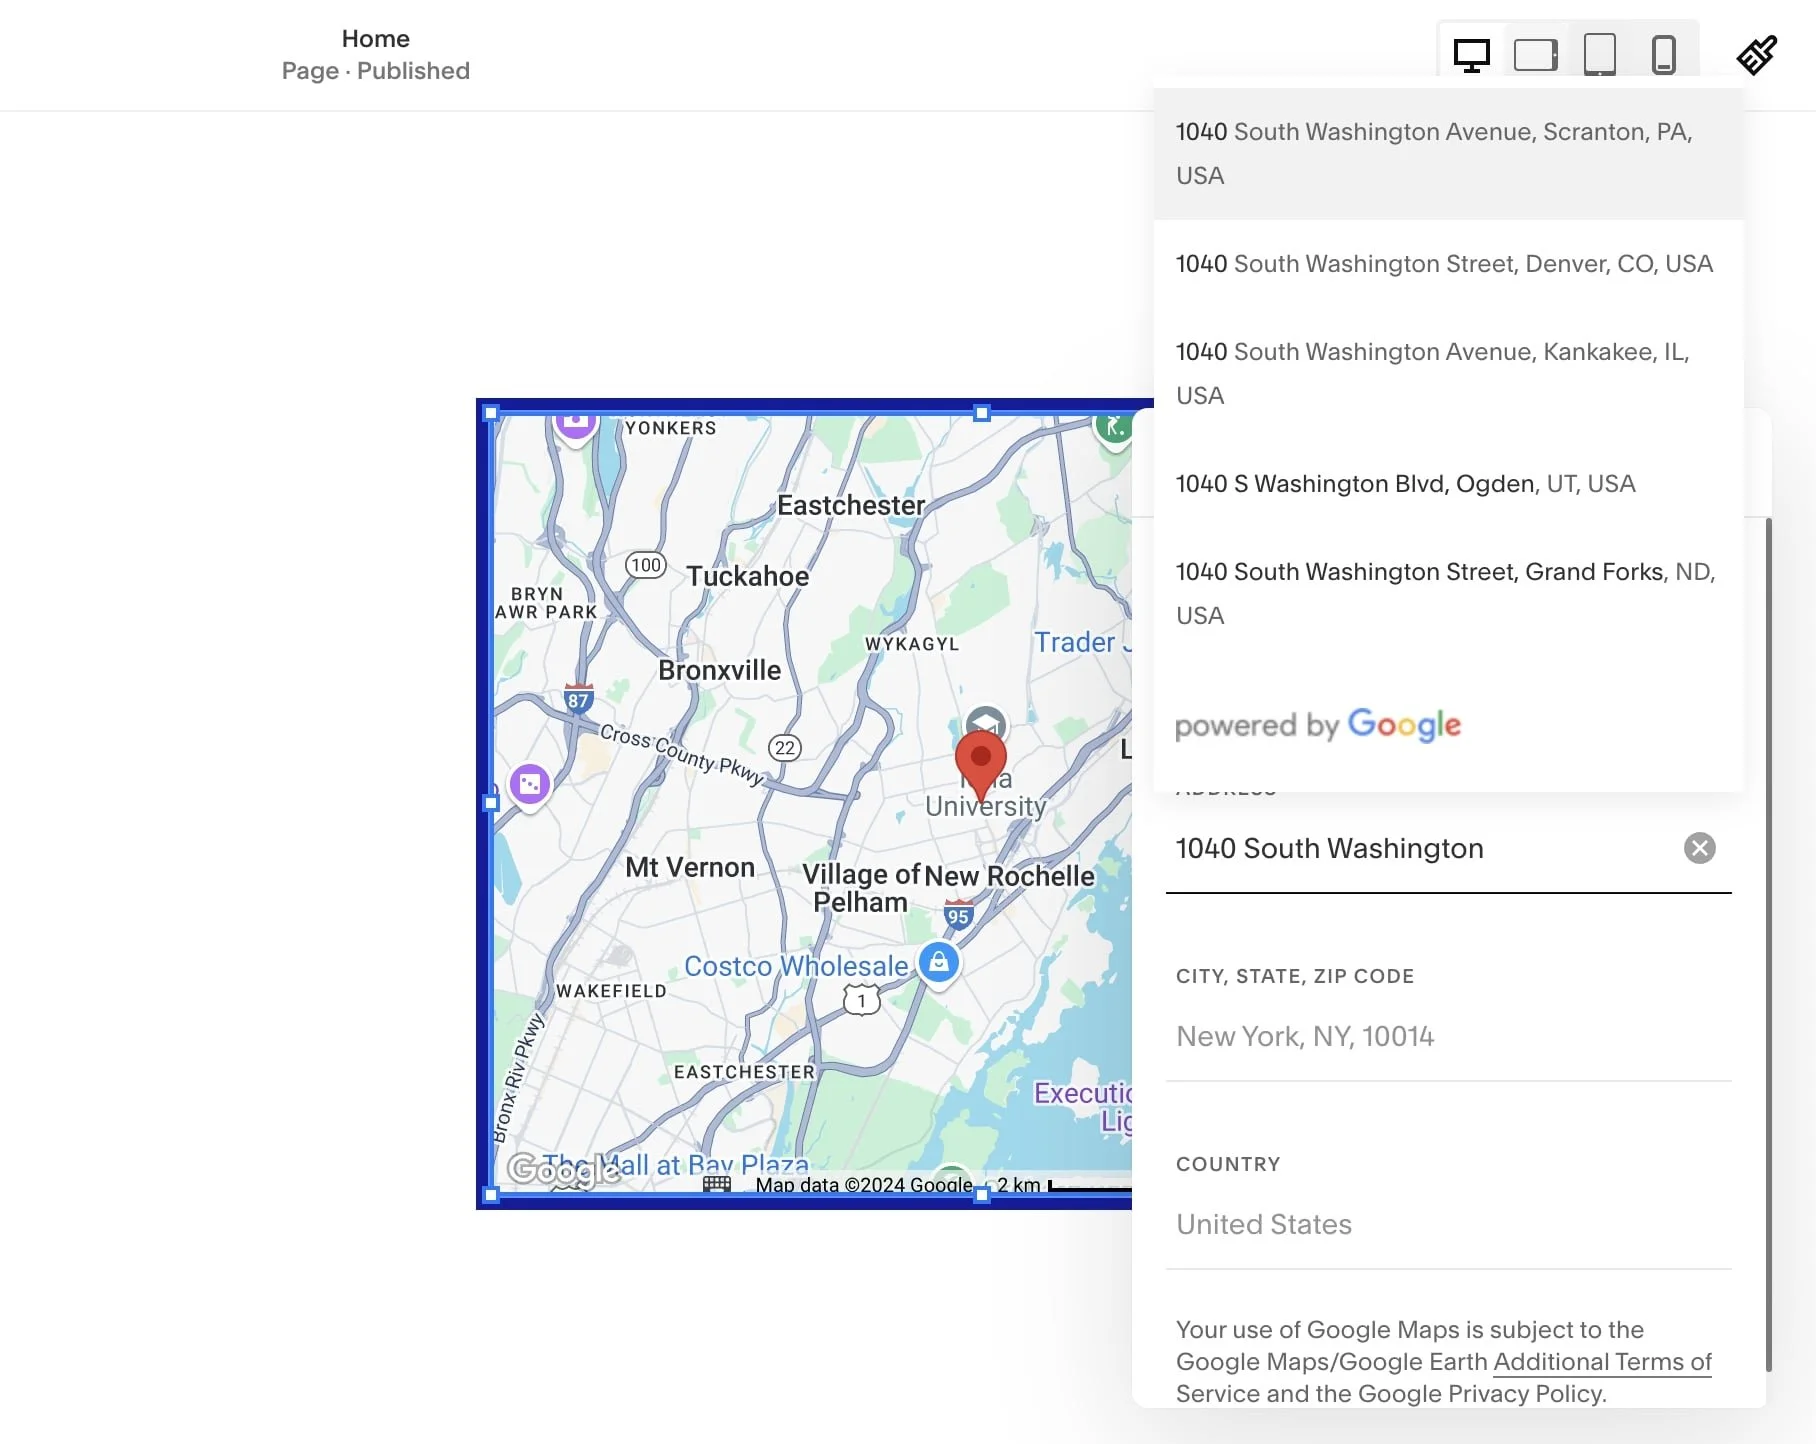
Step 3: Add Your Business Address
Click the pencil icon on the map block to open its settings.
Enter your business name and address into the appropriate fields. Make sure to select the correct suggestion from Google’s list to ensure accuracy. For example, typing "Alfredo’s Pizza Café, 1040 South Washington Avenue" will show relevant Google results.
Step 4: Customize the Map Design
Squarespace offers several map styles to match your site’s design:
Original: A classic Google Maps look.
Grayscale: A muted, minimalist style.
Satellite: Real satellite imagery for a detailed view.
Dark: A modern, high-contrast style.
Light: A clean, simple look.
Blue: Ideal for water-focused locations.
Choose a design that complements your site’s overall aesthetic. You can also toggle terrain and zoom controls to give users more interaction options.
Step 5: Add a Border for a Polished Look (Optional)
If you’d like to give your map block some extra style:
Add a Shape Block above the map block and stretch it to cover the entire map.
Change the shape color to match your website’s color scheme.
Add a stroke (border) to the shape block for contrast.
Move the shape block behind the map using the “Send Backward” option in the block settings.
This creates a clean, bordered look that makes the map stand out.

Step 6: Preview and Publish
Once everything looks good, click Preview to see how the map works in action.
When you’re satisfied, click Save to publish your changes.
Wrapping Up
Adding a map block to your Squarespace website is an easy way to make your business more accessible and visually appealing. Whether you’re running a restaurant, store, or event venue, this feature ensures your visitors know exactly where to find you.
📨 Join my mailing list to get Squarespace tips & tricks right in your inbox

Your Designer
I'm Bryan, a Squarespace web designer and founder of Abound Web Design. I have worked with all types of businesses and organizations from preschools to publishing companies to chiropractic clinics and everything in between. If you want to discuss a potential project, you can email me at bryan@aboundwebdesign or get in touch with me here. Alternatively, you can book in a free 15-minute consultation call here.